Halo by Crane - Part 2
the strengthening
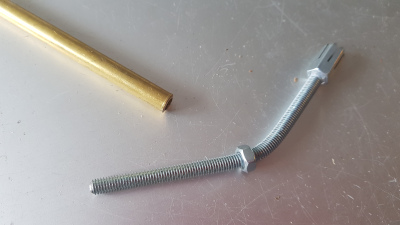
A Guy-Wire
In Part 1 of this series, I was able to construct the Halo by Crane structure but in the end it wasn’t able to bear its own weight. I had already replaced the most critical bars with thicker brass tubes.
After periodically staring at the structure (still hung from the ceiling) for a few days while doing other things, one morning I decided to see if there was a way to see if I could push downwards on some bars to counteract the forward-hanging lobe.
To my surpise, quite carefully, I was able to tilt the lobe upwards and the whole construction basically stayed standing, although it looked painfully strained!
So I added a guy-wire to the back of the structure, in the hope that it would stay standing.
Standing! But…
I was astounded that it was actually standing, and I only had to add something to compensate for the forward weight of the lobe.
Proudly, I made some snaps of the new miracle, but if you zoom in, you can see that there was still a problem.
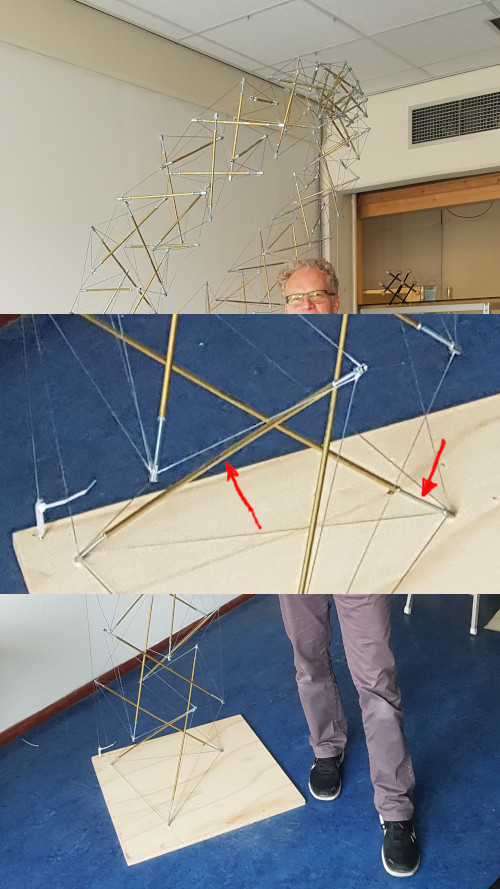
Eventually, after challenging it a bit more, things started to really break down.
The bottom tulips were under just too much compression so they bent and eventually collapsed altogether.
As you may imagine, this went together with the entire structure falling down, various cables disconnecting, and the subsequent gradual emotional recovery while staring at a bent and collapsed thing of beauty.
At one point one of the original thinner in the upper loop bent completely out of shape so I replaced it with an equal segment of the thicker ones which I had already used.
But the bottom twist was still too weak. The bars bent visibly, and looked very stressed.
More Bars
Since at least the bottom three bars were really not up to the challenge of holding up this much weight, I ordered new bars.
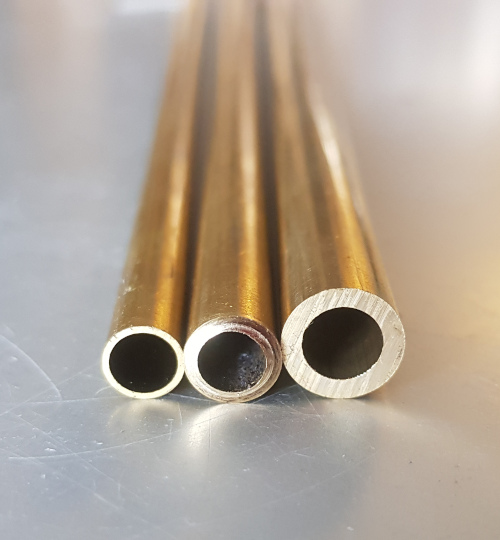
This time taking it up another notch. I had first replaced the main section’s 21 bars (and one that completely buckled), which had 0.5mm walls, with much stronger ones with 1mm walls. So this time I went further to 1.5mm walls, and 6mm internal diameter.
Now there were three sizes being used!
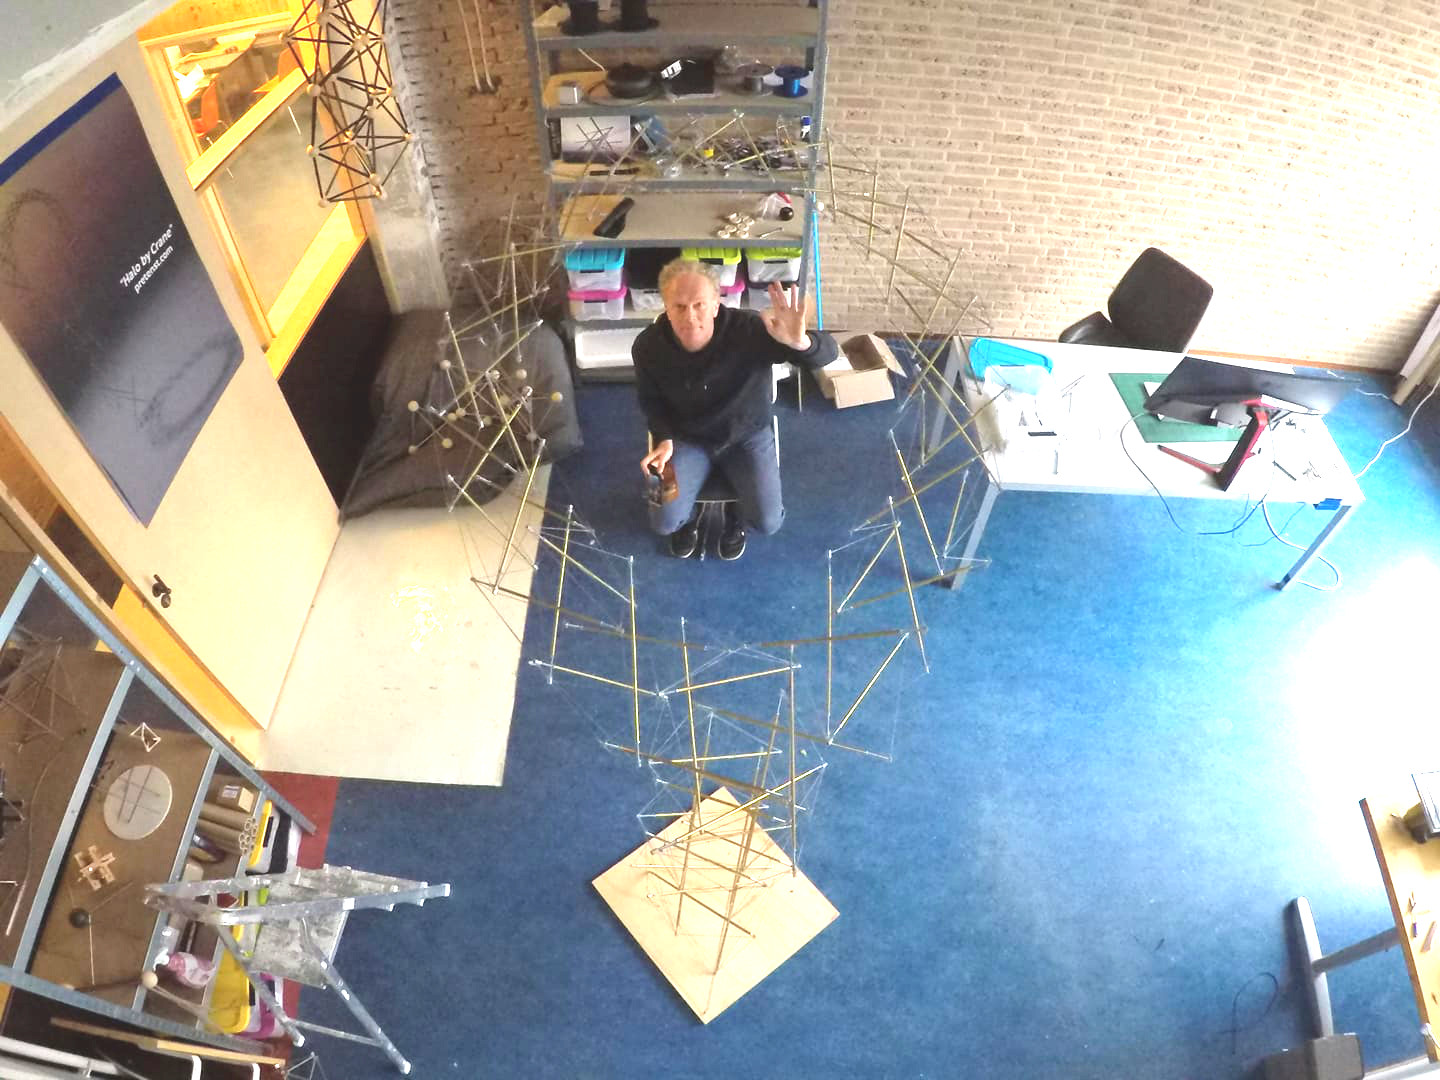
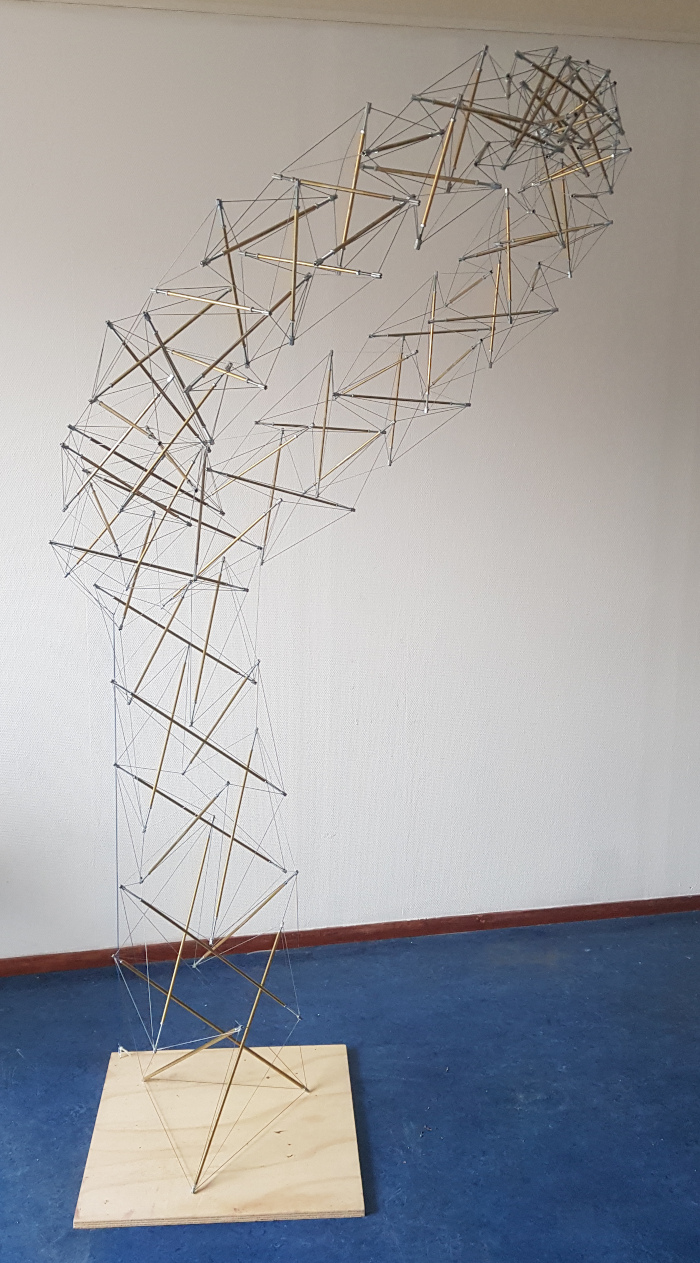
Standing Tall!
This was basically all it needed! With the bottom twist now made of very thick walled bars, the structure stood confidently.
As it turned out, one of the bars in the second twist was also showing dangerous signs of bending, so I replaced that one too.
After that it was clear that there were no bars left over which were too weak for their job. That hurdle had now been crossed, thank goodness!
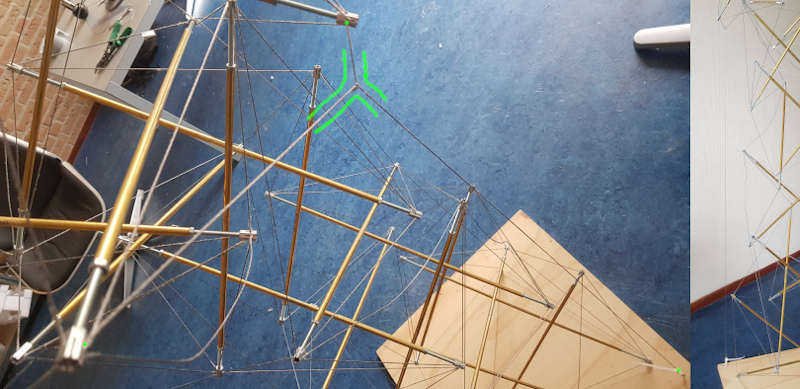
Extra Connections
Playing around with the structure by wobbling it around a bit revealed that there was a kind of unwelcome degree of freedom, where you could make long sweeps while wobbling.
I zeroed in on where this was happening, where the hinge-action was taking place, and I was able to add two short tension cables to basically eliminate this problem.
Now it was stable and strong, it was time to celebrate with a photo shoot!
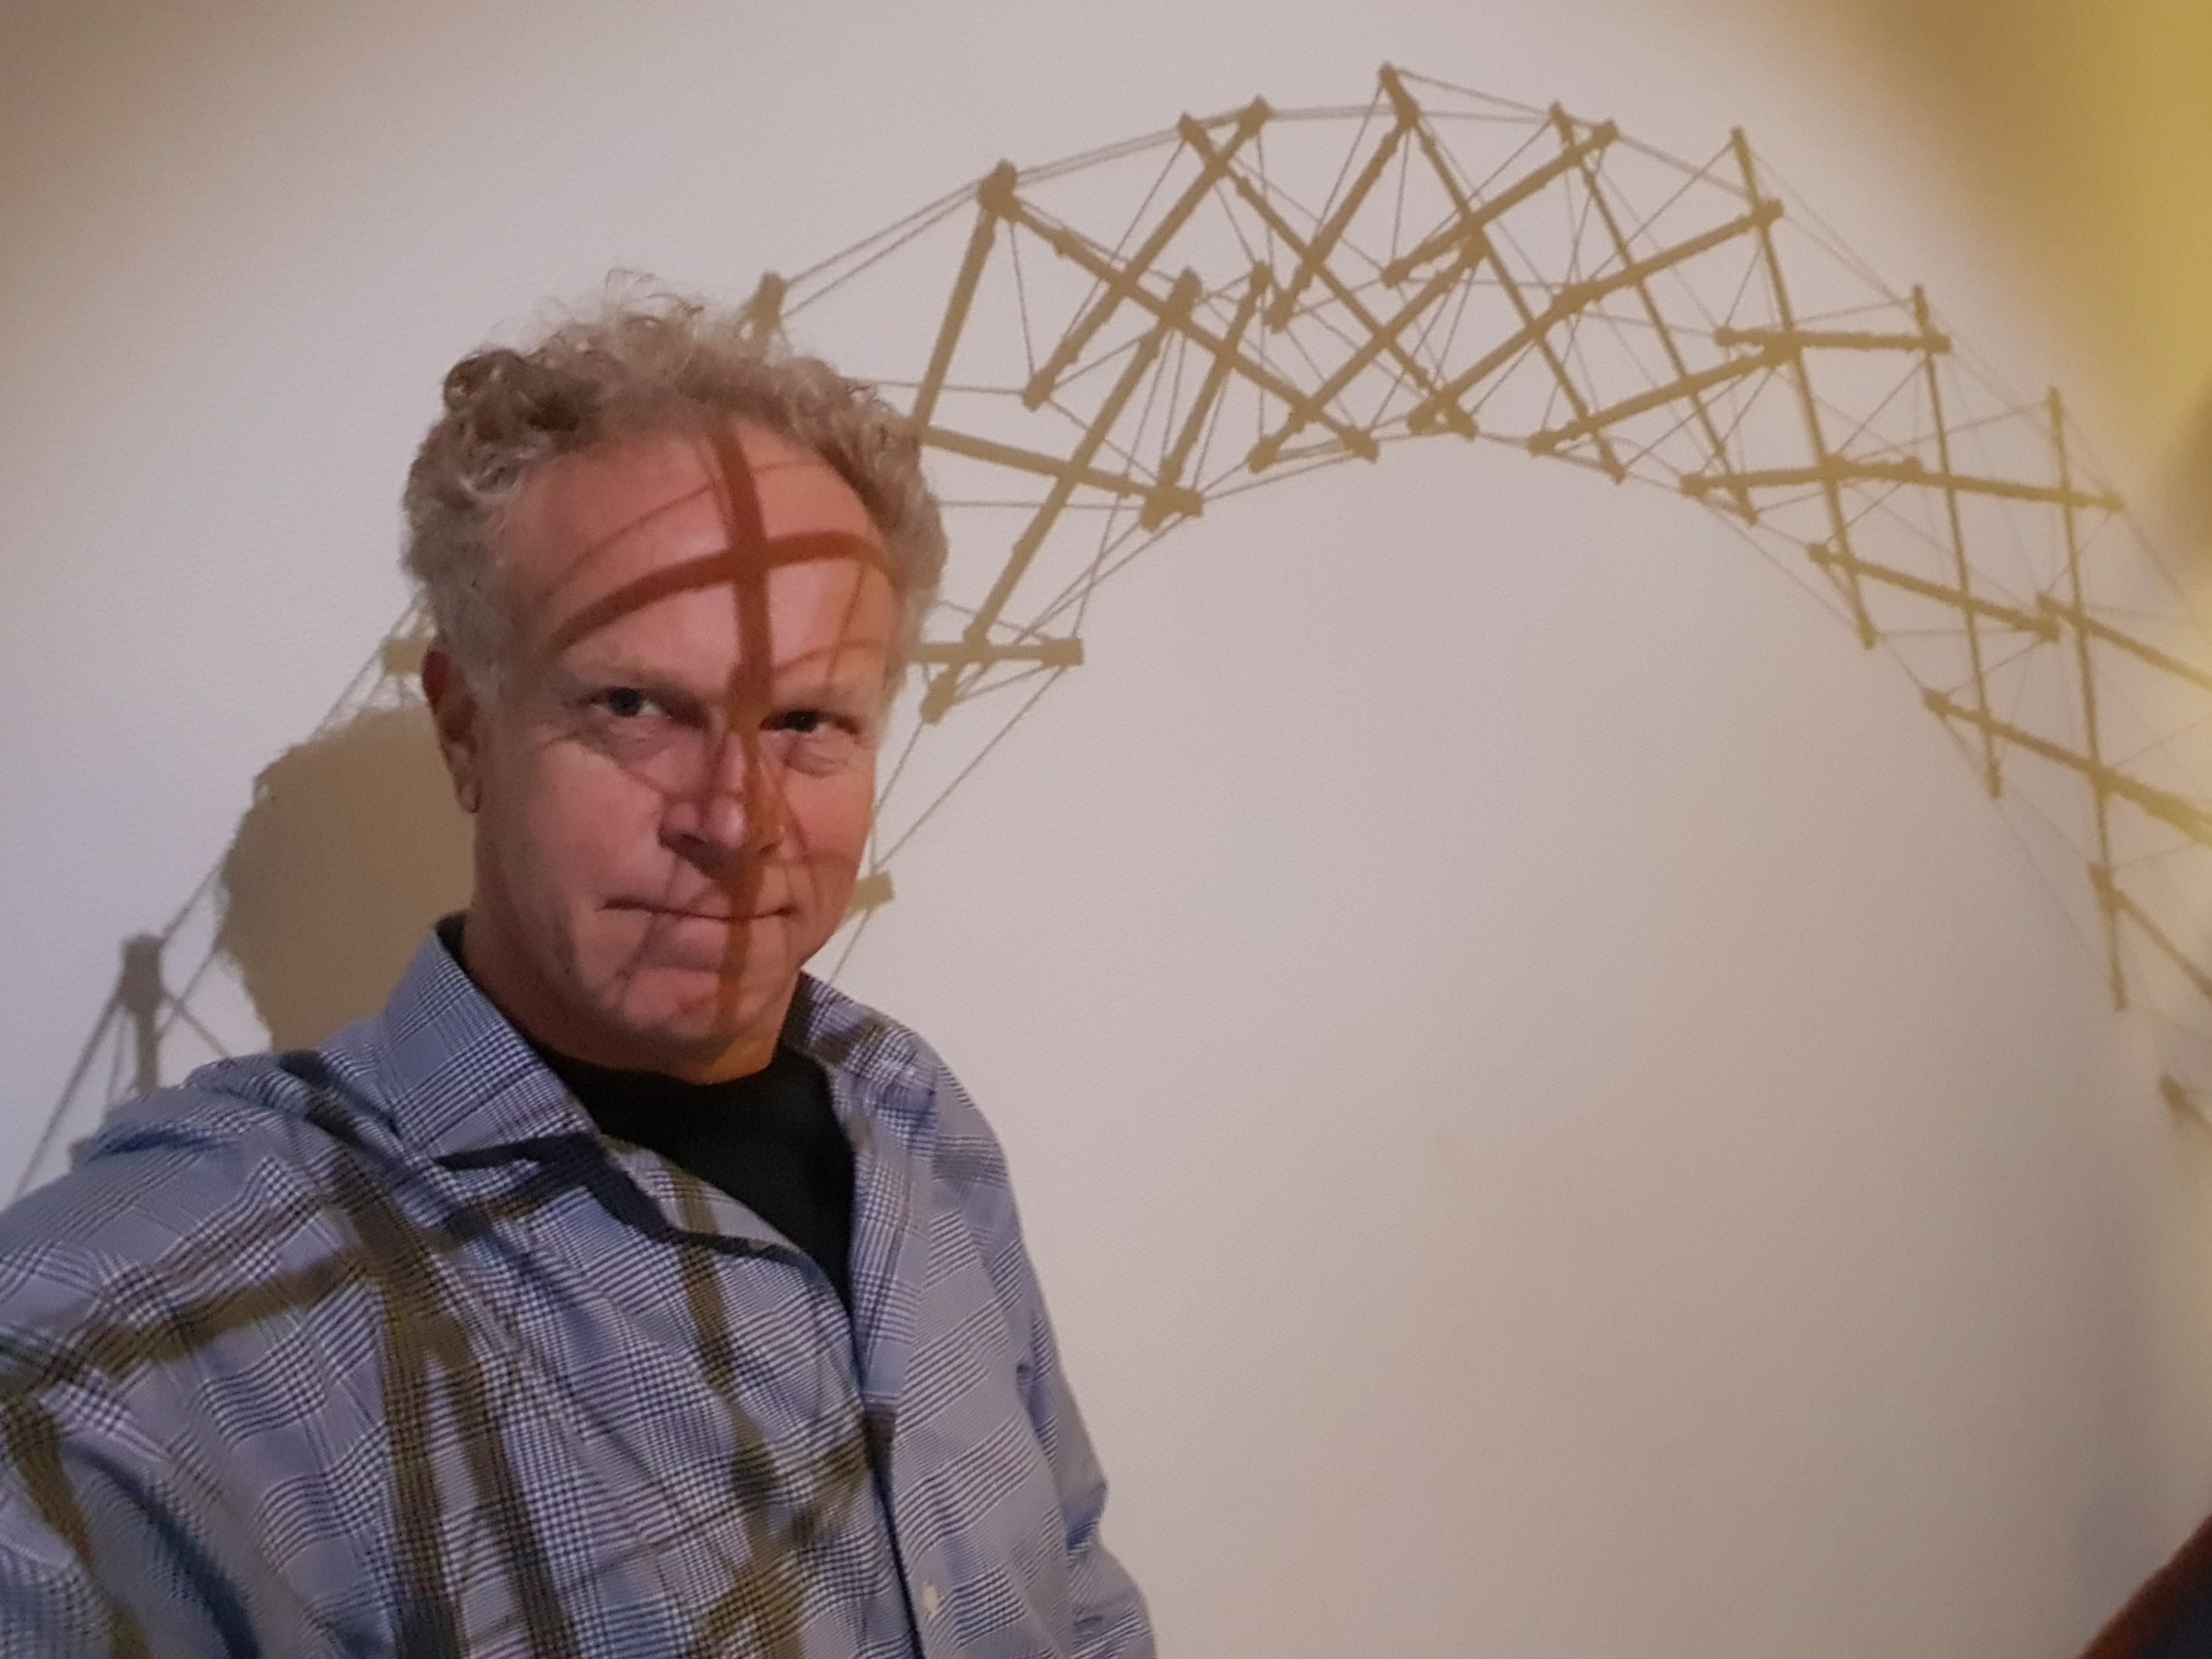
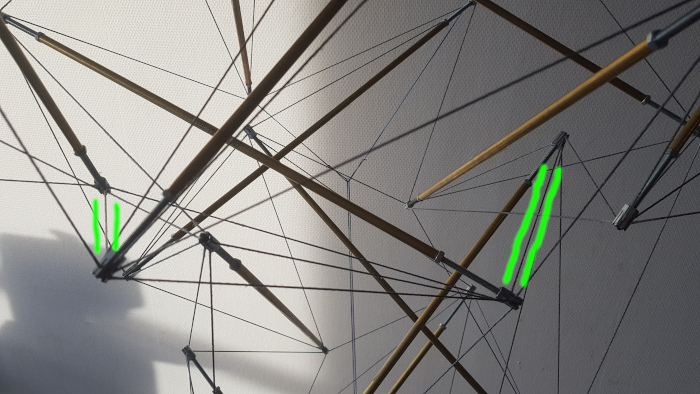
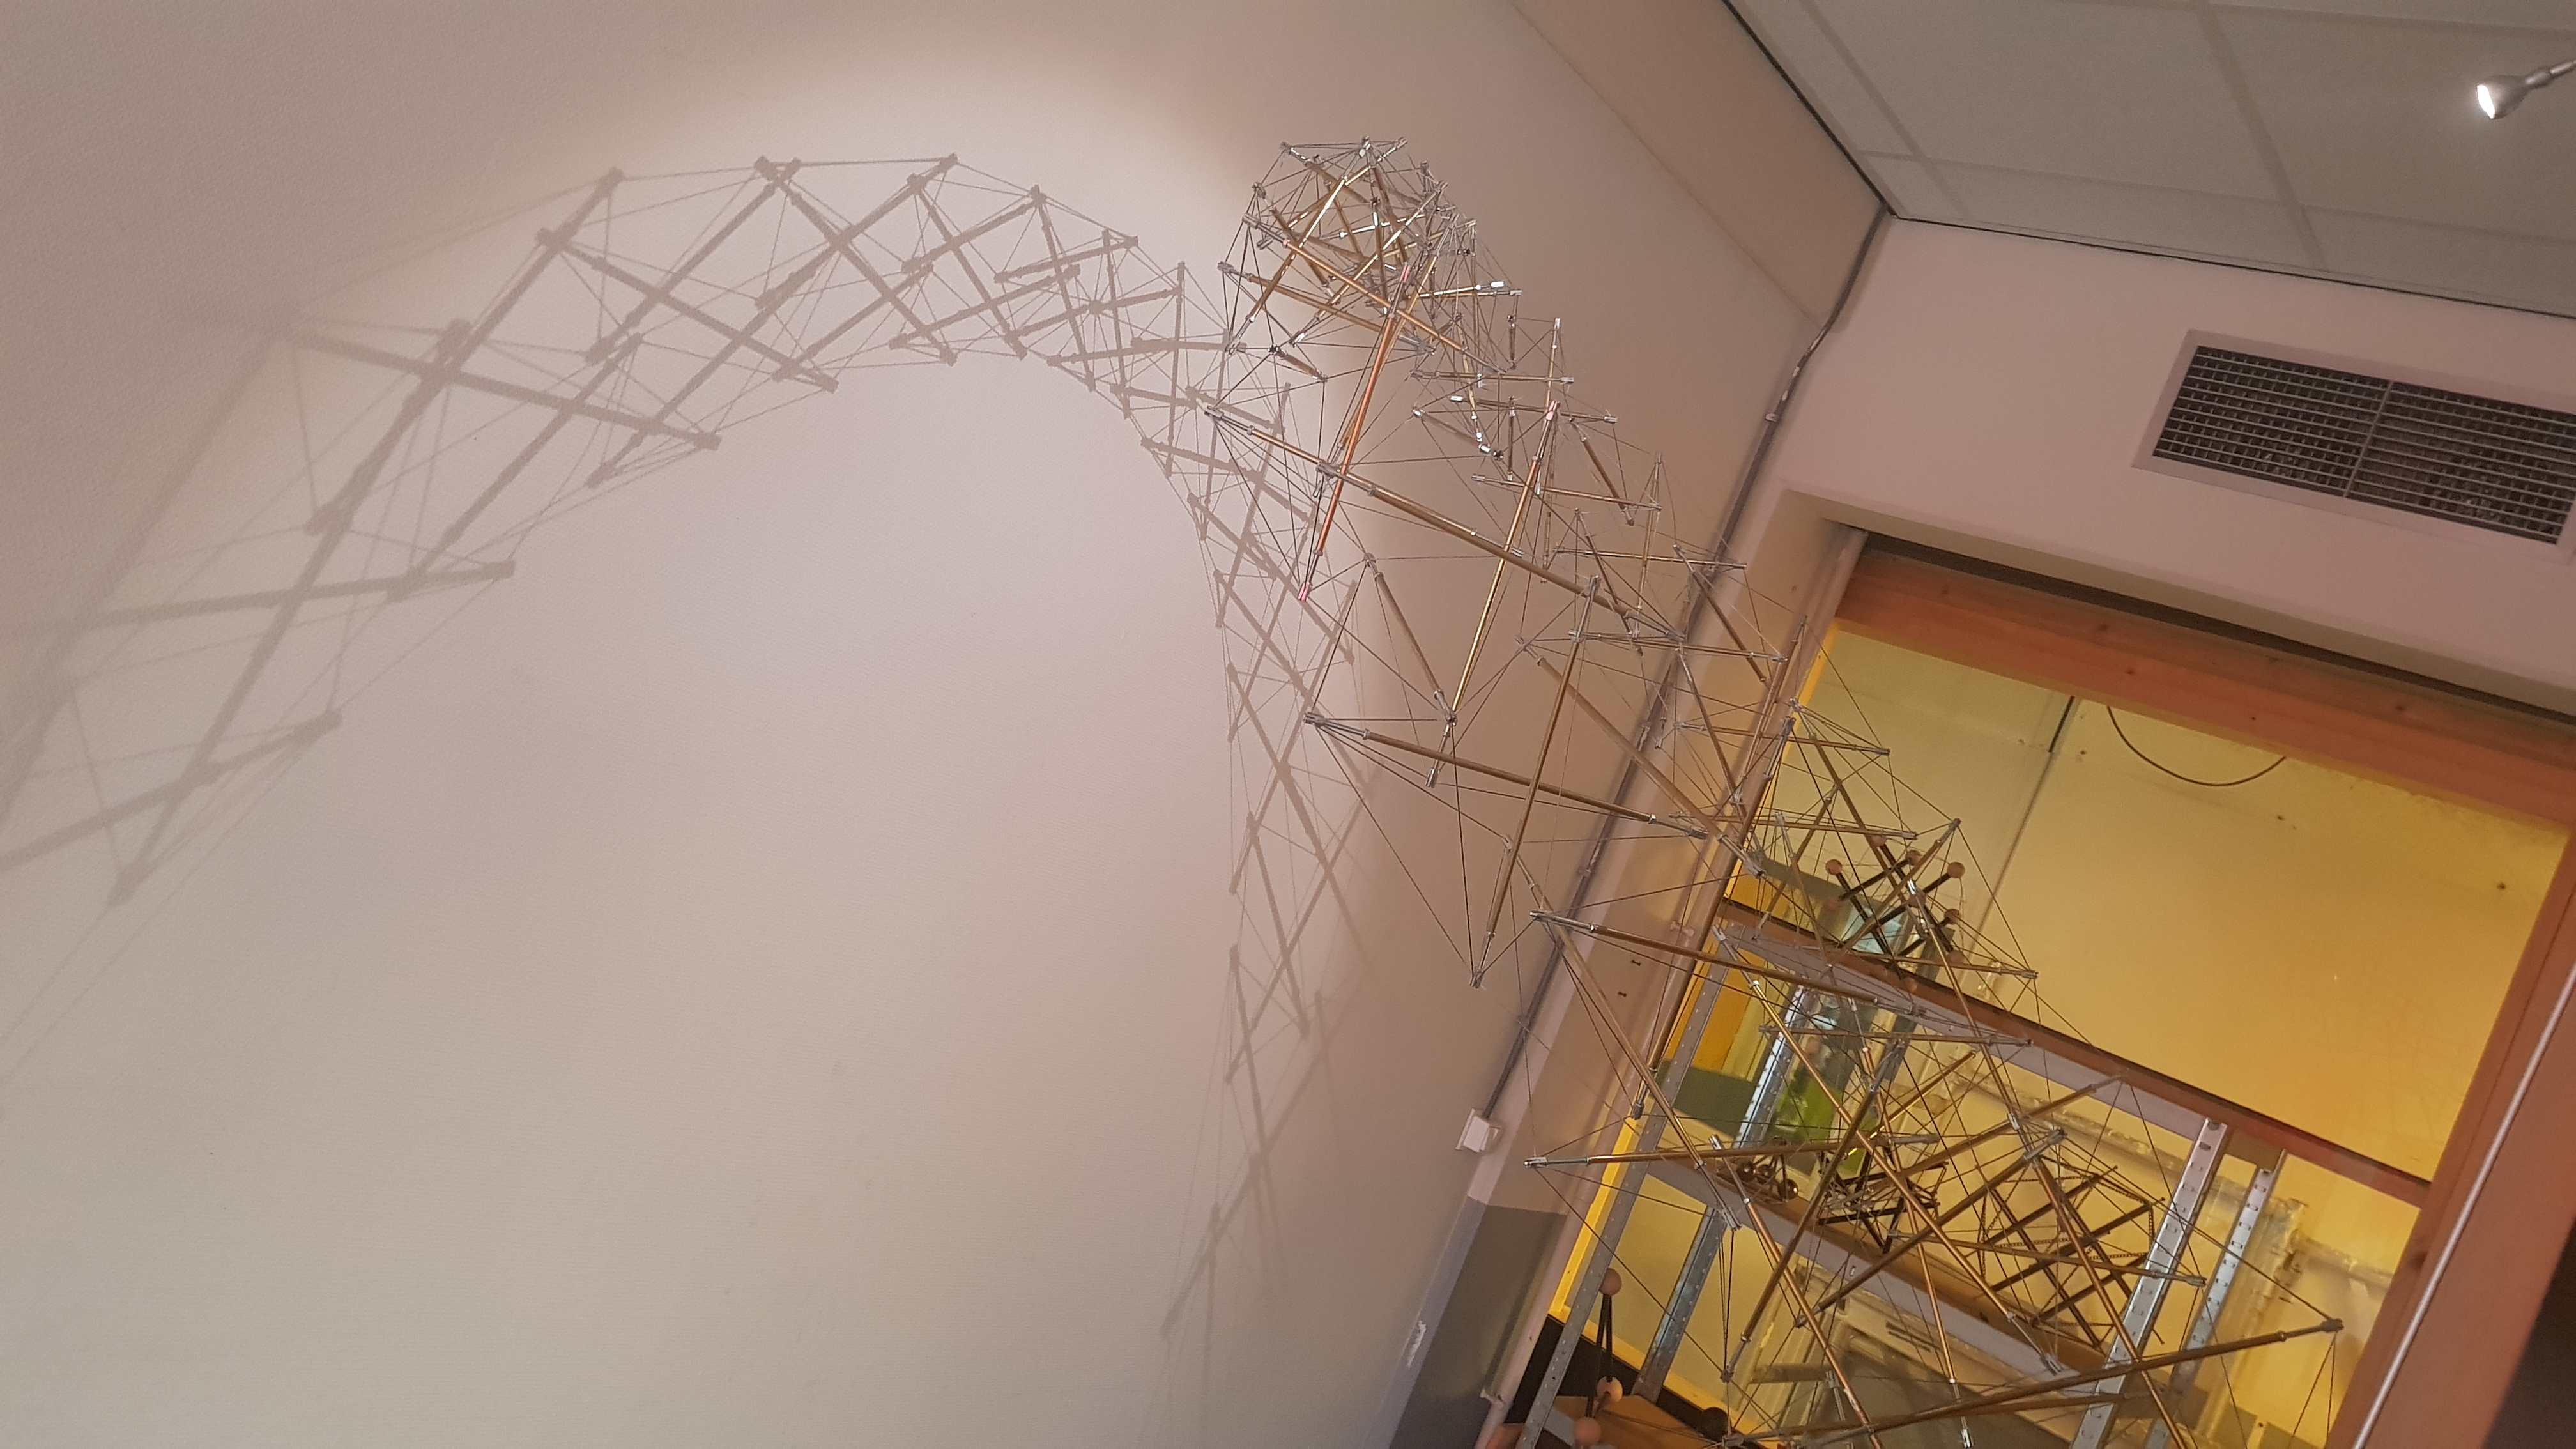
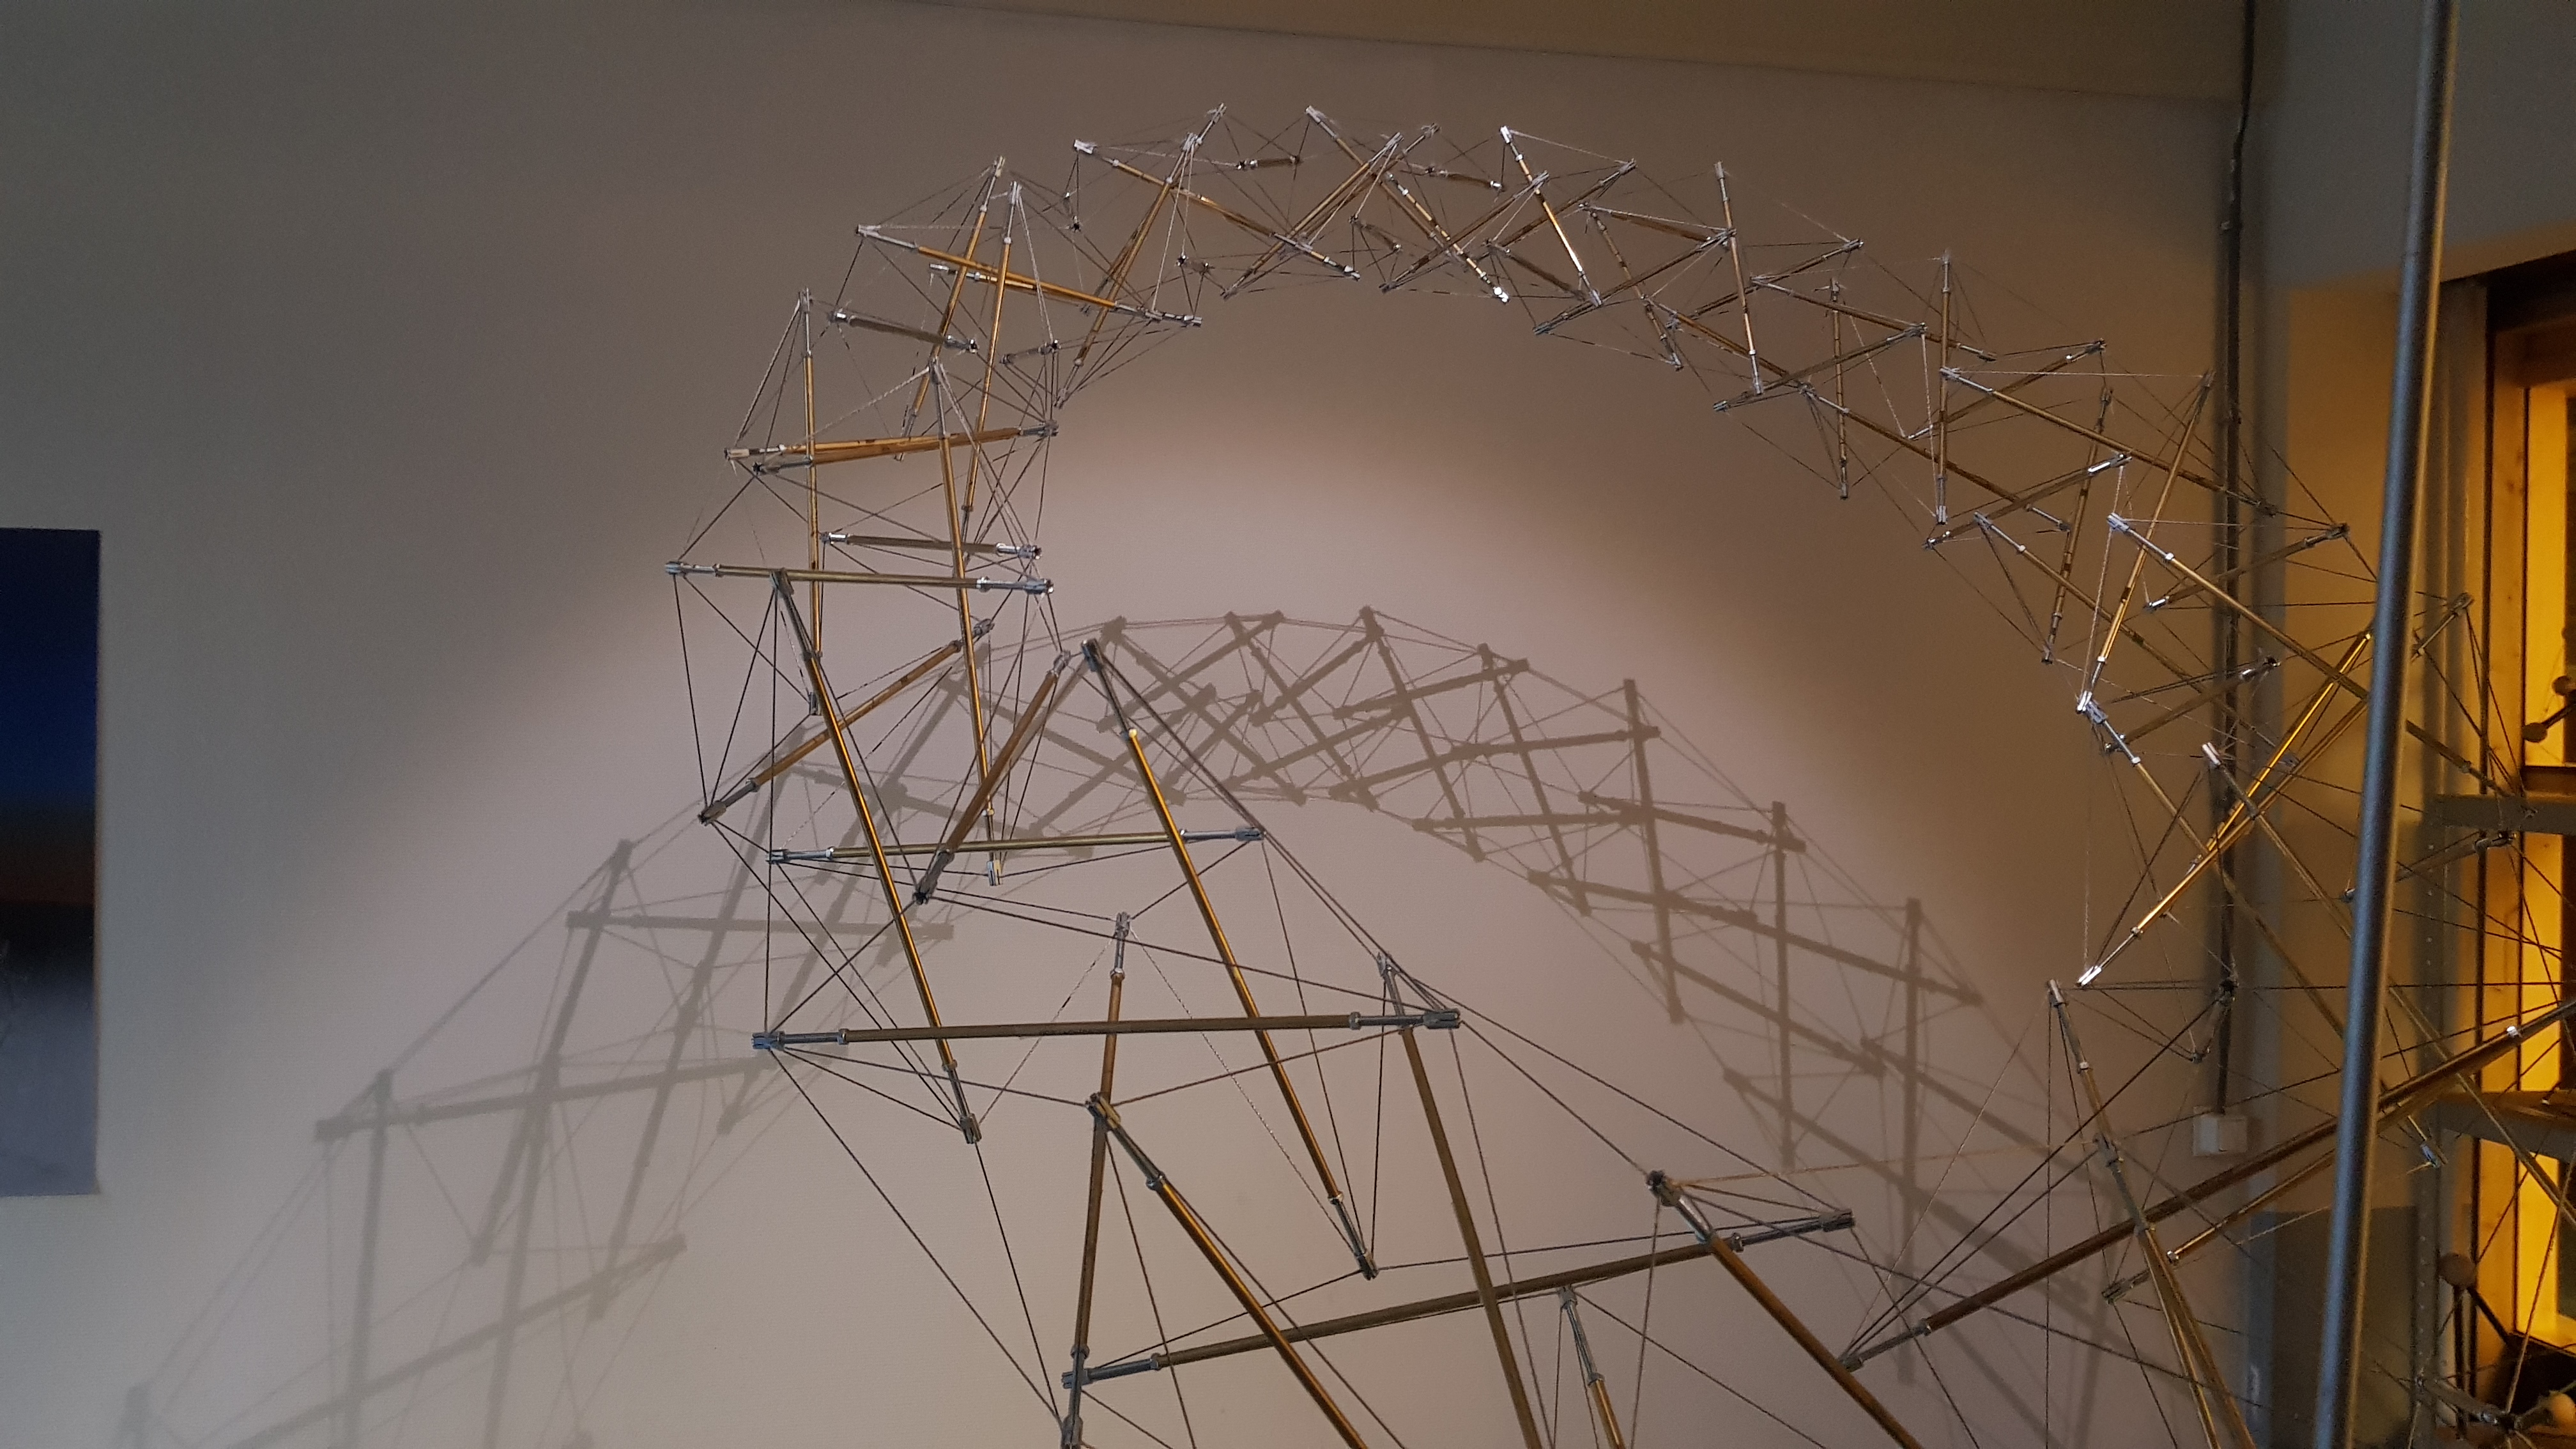
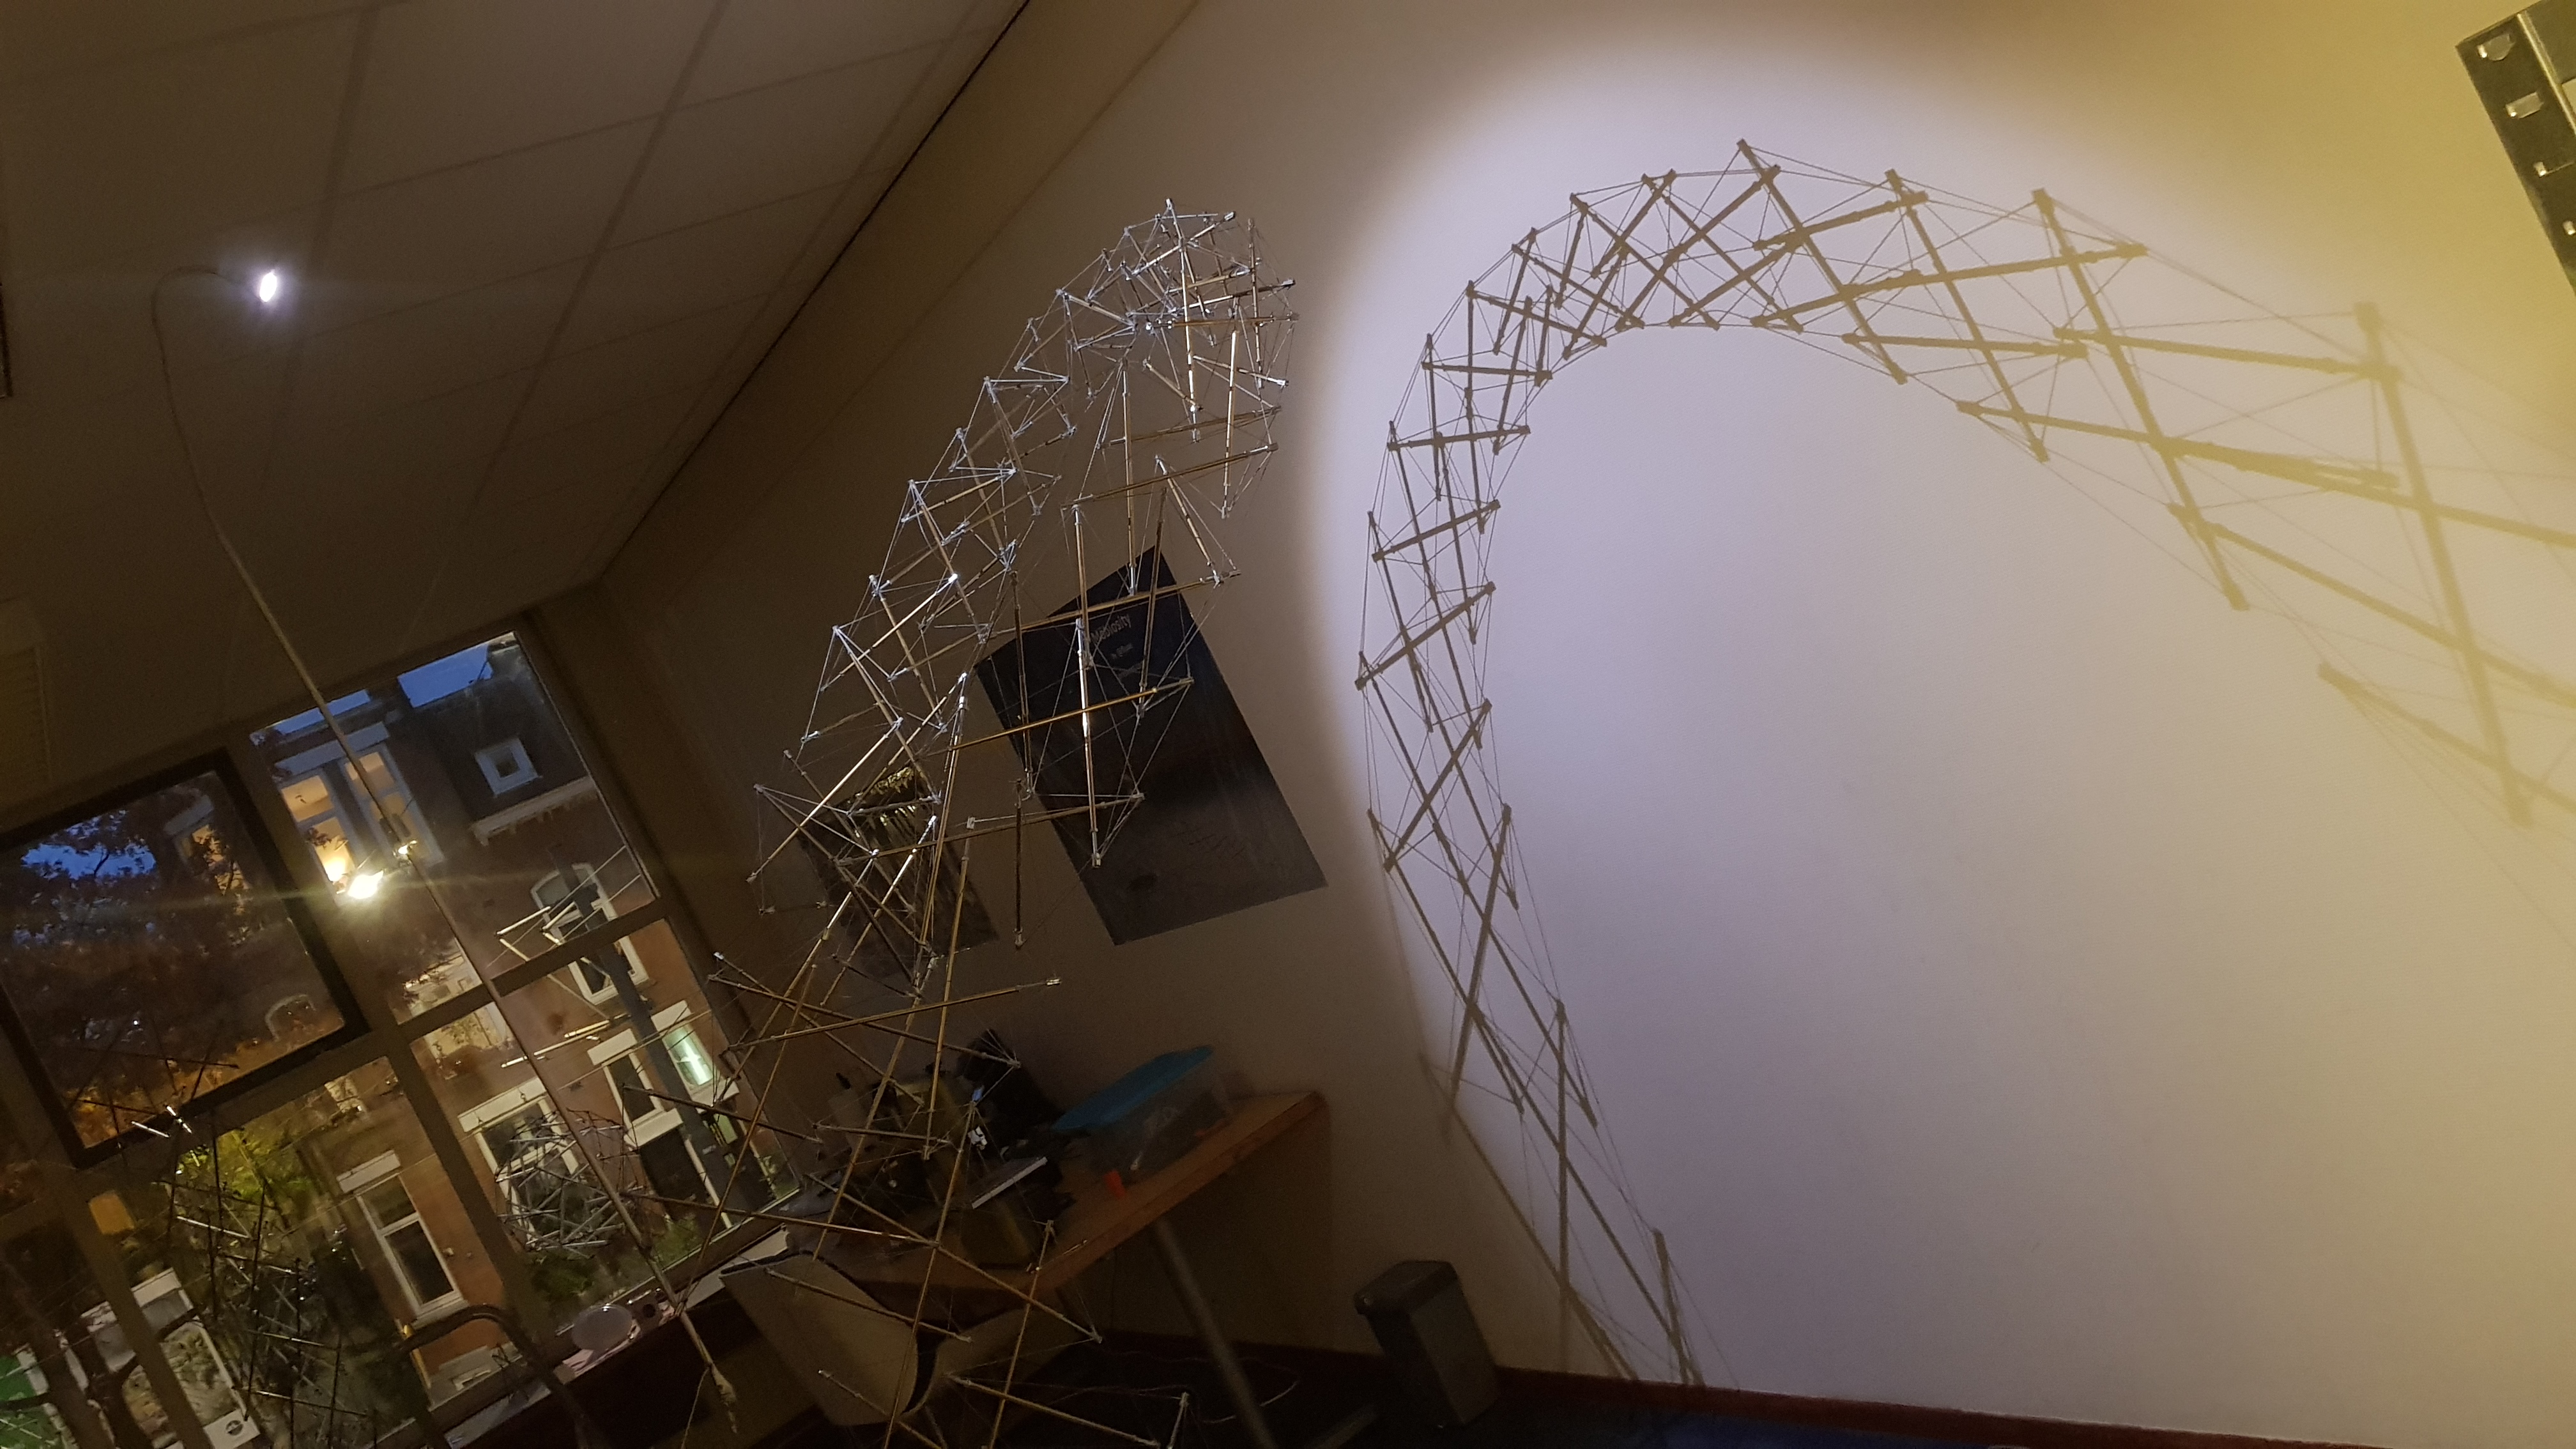
Shadow Fun
There’s something especially fascinating about the shadows that this tensegrity throws when you shine a sharp light on it.
Conclusion
I learned a great deal by building this complicated structure, that’s for certain. There were unexpected twists and turns on the way, and some pretty heart-wrenching disappointments.
I set out to create the first “post-Snelson” tensegrity, with an entirely new level of complexity, yet something that was easily designed in tenscript.
Now when come in every morning and I have to spend a while just looking at it, nudging it, and enjoying it’s imposing tightness and emptiness.
The shadow gave me an irresistable opportunity to make a couple very unique selfies.
Take that, 2020!!