PretensT
Tensegrity is a special kind of structure made of push and pull.
Project maintained by elastic-interval Hosted on GitHub Pages — Theme by mattgraham
Sphere with a Twist
Quite a while ago I built the first bubbles from plastic and elastic and had some fun bouncing them around, but the question always remained in my mind: What would it be like to have a high tension bubble?
Since building (and even selling a few of) the Six-Twist Essential I had some very efficient techniques available.
One Element
I have the technique which involves tying simple knots onto rings to prefabricate the tension, as well as the bolts, nuts and brass tubes that become adjustable compression struts.

For this 30 strut tensegrity, we have the luxury that it is effectively made up of 30 identical elements, each of them being a strut with three tension lines and two middle rings.
I built the one above as a test, but this is not a part that you first construct. That would make things hard to assemble.
You know that I keep harping on the idea of prefabricated tension, so that comes first.
Pentagon with Rays
This bubble’s tension consists of twelve pentagons. Each of the five rings of the pentagon must have exactly three cords attached when it is complete, so a good part to pre-fabricate the pentagons as preparation, and then gradually add “rays”.
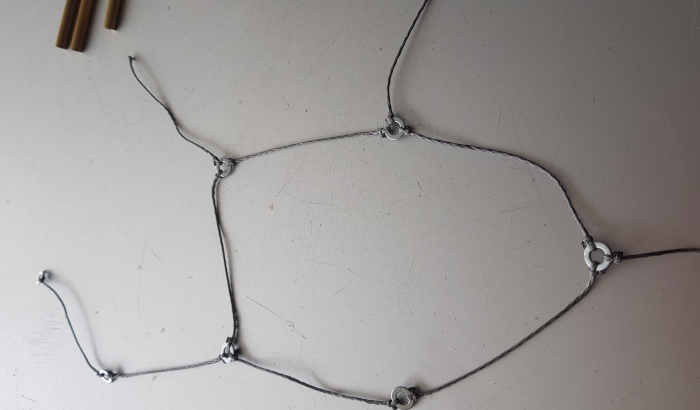
Each ray trails off a pentagon corner with an open end which will later be attached to complete the rings of the neighboring pentagons. Pay attention to whether the the five metal rings “face” in the same direction. There is usually a visible difference between bottom and top.
Parts Complete
Carefully attaching the pentagon rays out to complete the rings of the neighboring pentagons, you have to watch that the “face” of the rings are all pointing in the same direction, say outward. This makes it easy to know how to insert the bolts later.
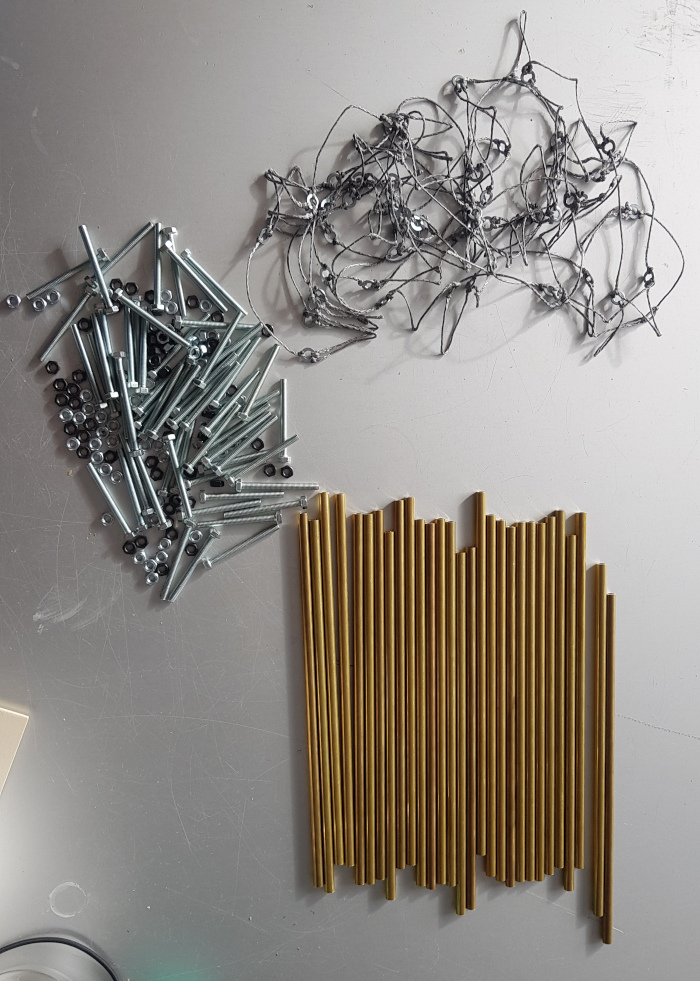
With the pentagons all attached into a complete tension network, each ring with three cords attached, and rings facing outwards, we’re ready to assemble.
Cue the sound of Naqoyqatsi and smell that cup of cinnamon tea.
Assembled!
After a quite painless assembly and a bit of tightening, the little bubble was finished!
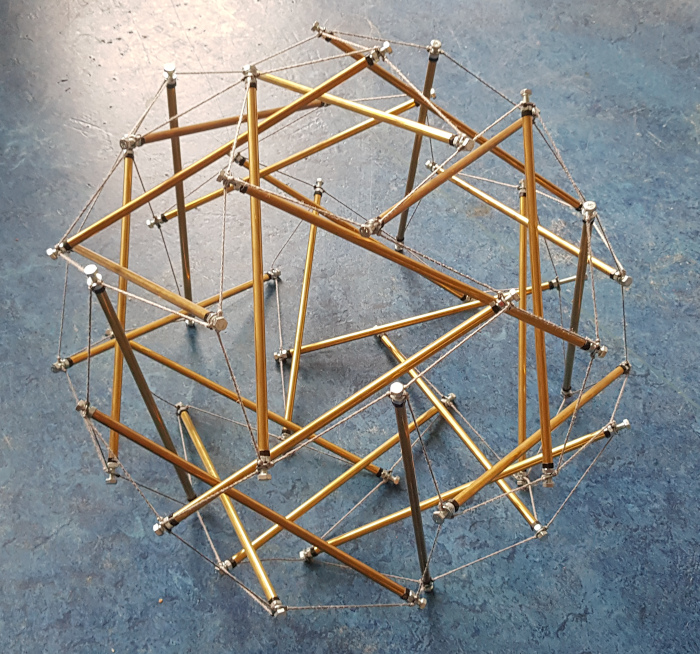
Since the bars can be lengthened by turning nuts, I was able to really tighten this ball. Cords almost twang like guitar strings.
Glamor shots
With the brass nicely polished, and some sunshine coming in the window, it was time to take some pictures.
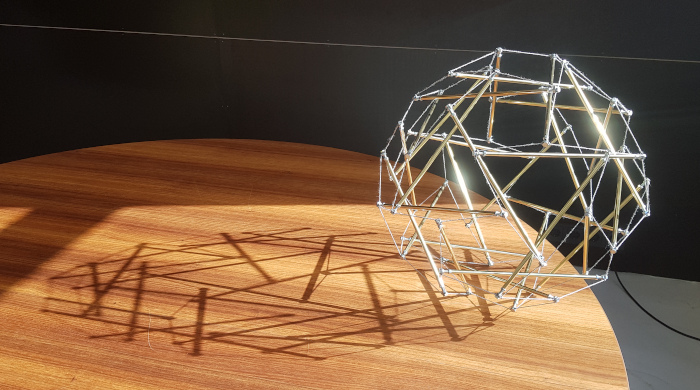
We even started toying around with hanging the bubble from a brass Six Twist Essential, that I had previously put together.
30-push-dangle.mp4 from Get Pretenst on Vimeo.
This was a lovely result indeed. In fact, I decided to take it home with me.
For the Living Room
With three suspension cables and a strange fuzzy thing (a tribble perhaps?) I re-used the foot of what was a very plain lamp.
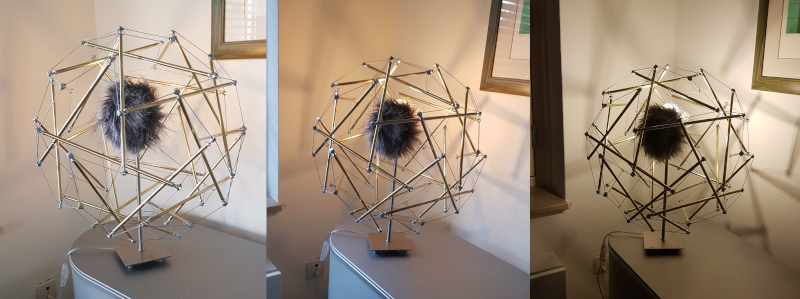
The shadow it throws makes it a beautiful eye-catcher and conversation piece!
Conclusion
This little brass bubble could be tightened such that it becomes possible to dribble it, although the metal makes quite a clacking sound when you do.
After playing around a little, it became clear that I simply hade to take the next step and build a bigger brass bubble, but this time I would need to deepen my understanding of the structure.
I set up a new comfortable programming environment and started working on a special version of the pretenst app to help me develop the intuitions for the new bubble with 120 struts.
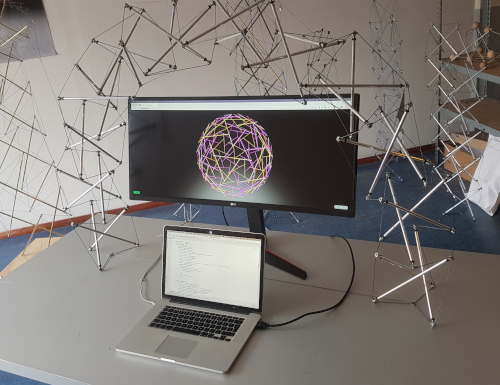
This was going to be daunting, so I teamed up with my civil engineer friend Joël Keijnemans to build two big bubbles.
Projects:
2024-07-23: "Bouncy Wooden Sphere": what you can do with a discarded bed2024-04-23: "Twisted Torque": tied into a permanent twist
2023-03-27: "Easy 30-Push Sphere": one simple element
2022-10-05: "Glass and LED": going big and colorful
2022-09-29: "Fascia": dancing with tensegrity
2022-08-30: "Mitosis": the four-three-two tensegrity
2022-08-04: "Push Bolts for the People": finalizing design and getting it out there
2022-06-22: "Head to Head Push Bolt": M5 and M6 bolts symbiosis
2022-05-30: "Hiding Knots": bump up the aesthetics
2022-05-25: "Innovation with 3D Printer": the push bolt
2021-12-02: "Headless Hug": breaking a rule for the sake of symmetry
2021-10-28: "Rebuilding the Halo": finally got it right
2021-10-20: "Convergence": growing and reconnecting
2021-07-27: "120-Strut Brass Bubble": taking the next step up in complexity
2021-05-26: "30-Strut Brass Bubble": bouncing spherical tensegrity
2021-04-08: "Bow Tie Tensegrity": better bend resistance
2021-03-29: "Six Twist Essential": what if more hands could see?!
2021-01-25: "Minimal Tensegrity": no more tension lines than absolutely necessary
2021-01-18: "Degrees of Freedom": first adjustable hybrid tensegrity
2021-01-11: "Fractal Experiment": a tensegrity of tensegrities
2020-12-09: "Axial Tension": pretensing what is already pretenst
2020-11-02: "Halo by Crane - Part 2": the strengthening
2020-10-26: "Halo by Crane - Part 1": assembly complete but strength lacking
2020-10-12: "Brass and Tulips": a tight and strong tensegrity tower
2020-08-10: "Prefab Tension Tower": the tower of eight twists
2020-07-27: "Elastic Bubble": building with elastic ease
2020-07-13: "The Twist Sisters": left-handed and right-handed
2020-07-06: "Radial Tension": Pulling towards the middle
2020-06-22: "Diamond of Tension": Four pulls for every push
2020-06-15: "Prefab Tension": Separating compression from tension