PretensT
Tensegrity is a special kind of structure made of push and pull.
Project maintained by elastic-interval Hosted on GitHub Pages — Theme by mattgraham
Ugly knots?
In the previous episode, we looked at making things easier using a 3d printed push bolt.
One thing that remains, is that you can still see the knots. Some might find that beautiful or interesting, but others find it visually busy.
I decided to print a covering for the new push bolt so that you no longer see the knots.
I designed a cap with 12 slits, and tried some prints. When I finally worked out how to best print, it was nice to see the printer building a little version of Stonehenge.

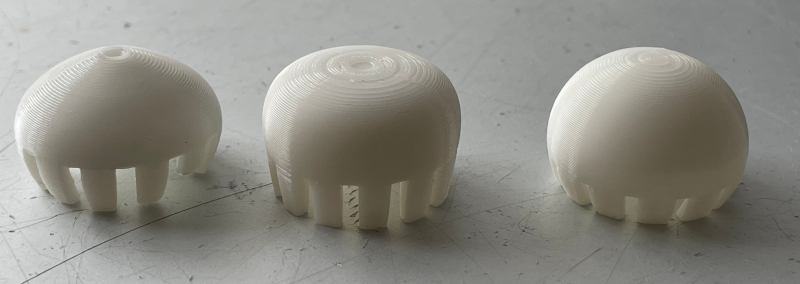
Trial and error
The results looked quite nice, although my first attempts printed the cap upside-down which leaves the top a little messy, which you can see below. Cheap 3d printing has its artifacts.
This is why I ended up flipping it over to start by building Stonehenge.
For a while I wondered what shape would be the best.
I tried a few, trying to make space for the knots, but eventually it became clear that a simple sphere was the most pleasing to the eye.
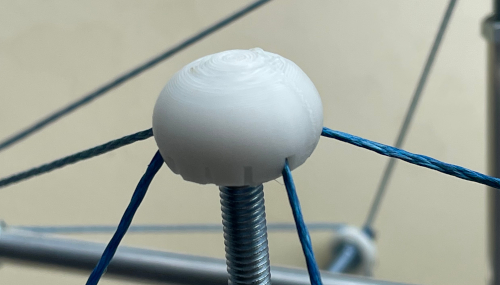
Tension
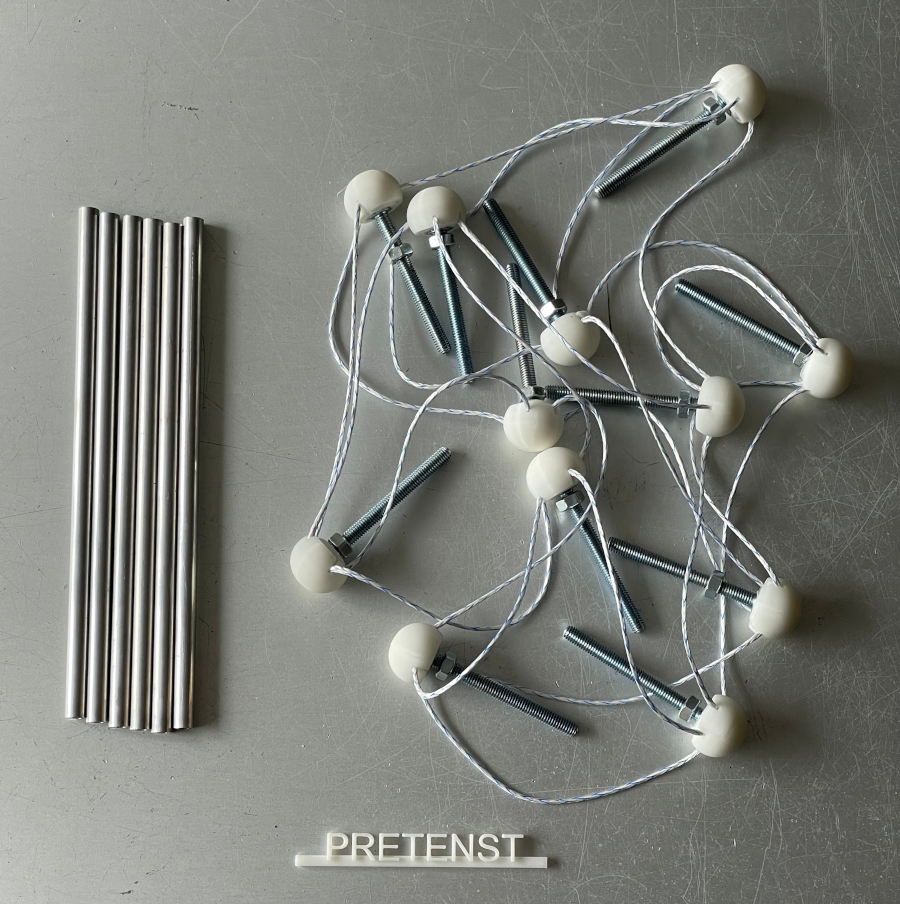
To give it a good test drive, I decided to make a 6-strut tensegrity with these caps to cover the knots.
This is the pattern of the tension that you have to knot up to build this structure.
The two nuts were added purely for mnemonic reasons. :)
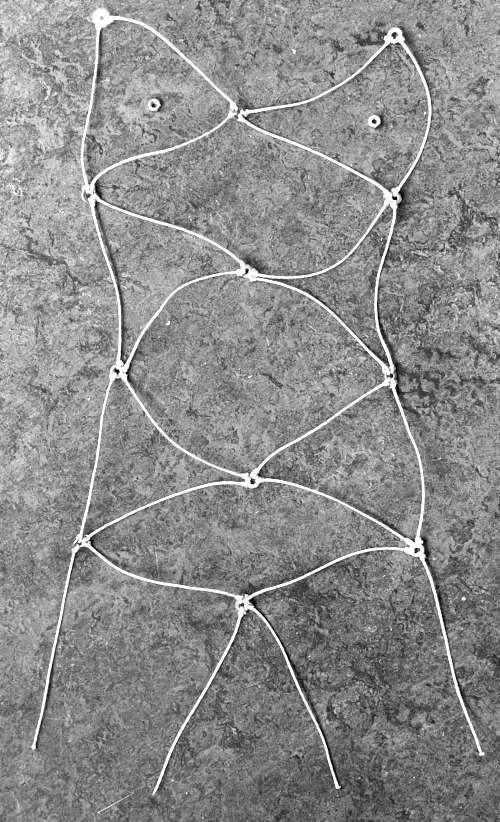
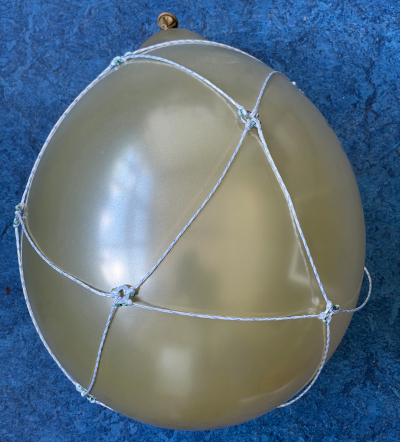
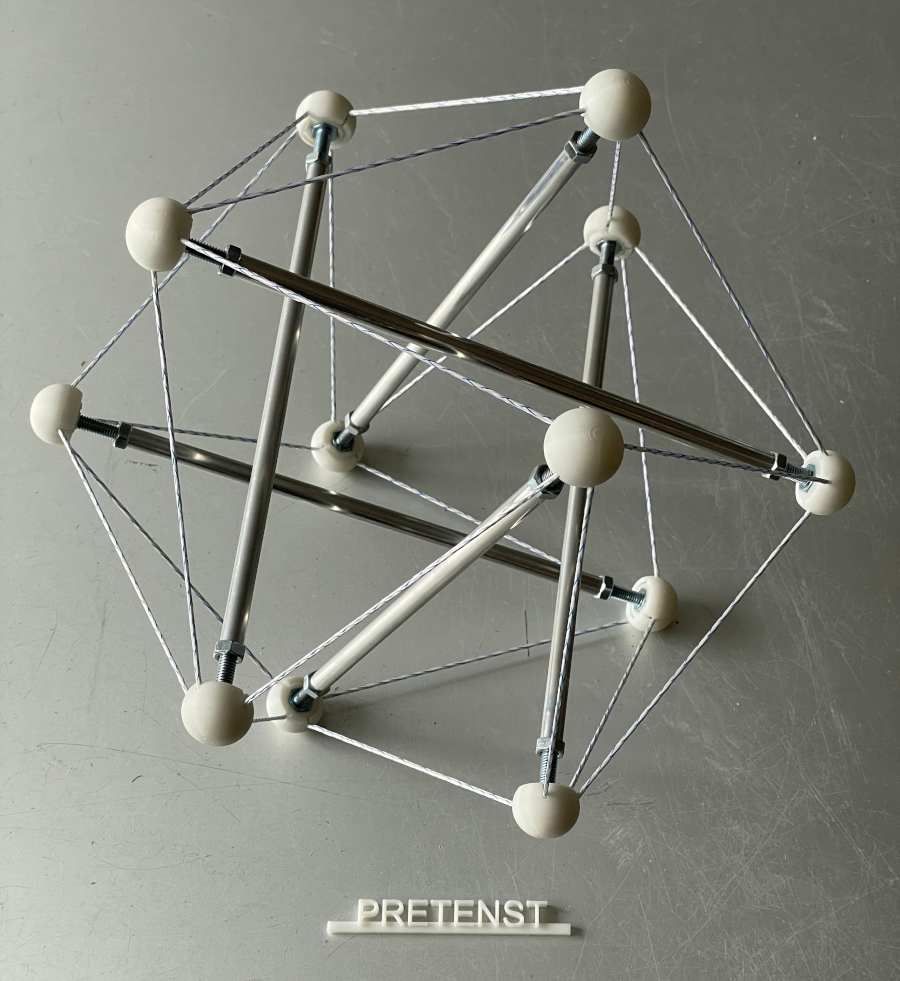
Once the loose ends are properly knotted, you get a tension network which will contain the compression.
To illustrate, I blew up a balloon inside.
A little Smurf village
When the design is right, all you have to do is multiply it in the slicer software to produce a bunch of them.
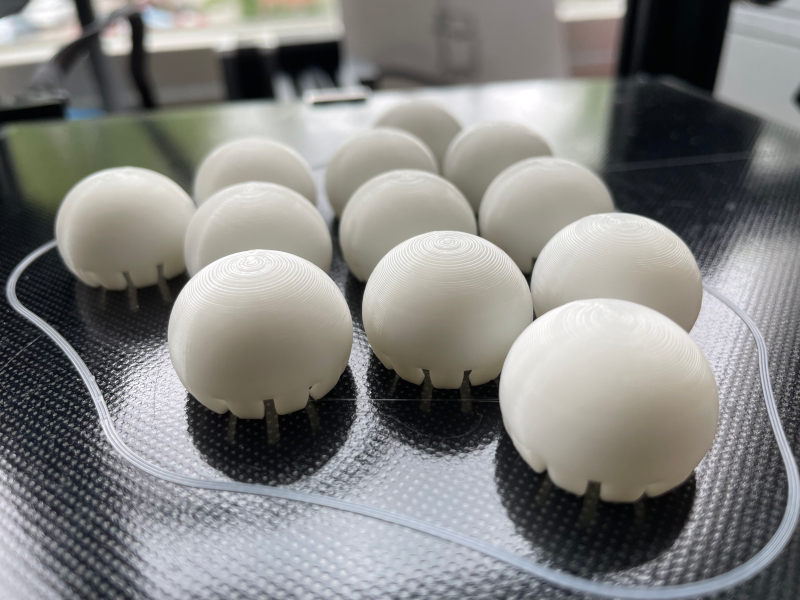
The shapes gathered like this looks amusingly like a little village of domes.
There is a tilt
It worked with the generic approach of using 12 slits, but I made the mistake of not making the slits deep enough.
This caused an unwanted tilt.
Final design
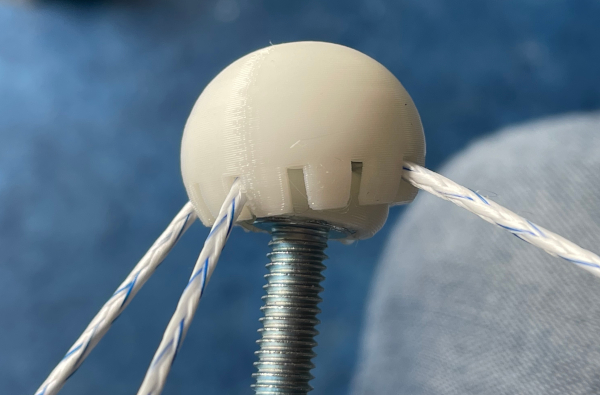
Okay so with the concept basically proved, I went on to design the cap to be more specific to this particular tensegrity.
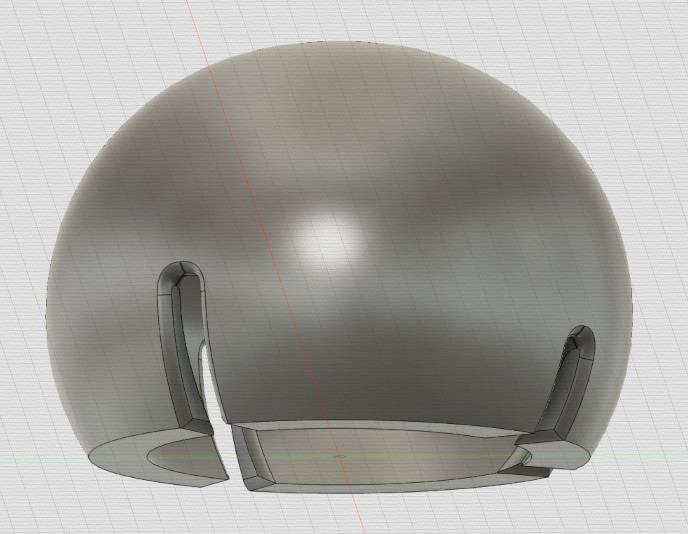
I removed the slits that were not being used, and I made two of them 2mm deeper than the others.
The printer shows that now there are only four slits, and as a result the cap is also stronger than before with the equal “teeth”
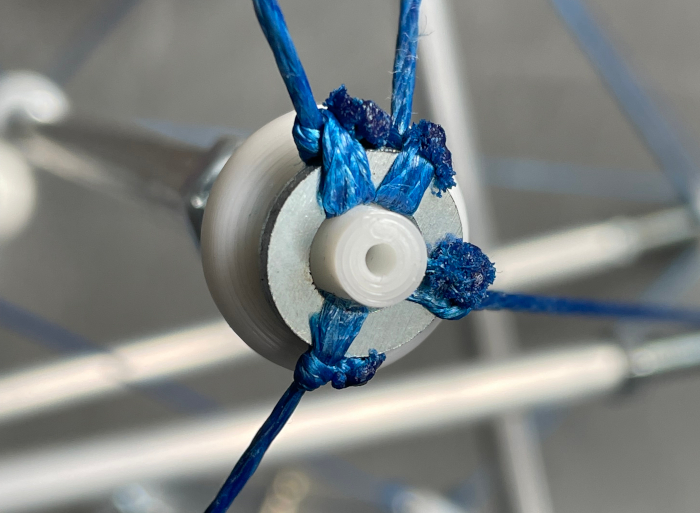
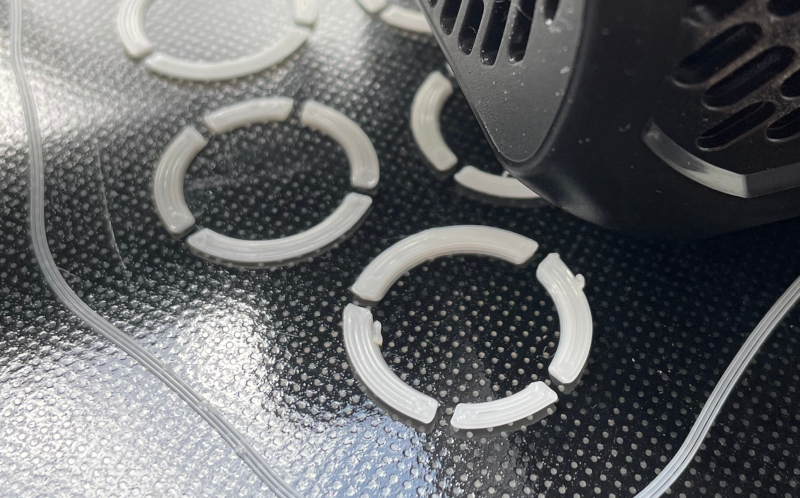
Assembly
The process of assembly was interesting.
I started by pushing the rings into the caps and making sure that the dyneema cords were slid into the correct slits.
With the cap holding the ring inside, only later did I insert the push bolt into the ring in the cap.
Like before, it’s now possible to completely separate compression from tension.
Conclusion
This is a pretty nice result! I think many people will find this more aesthetically pleasing, since the knots have been magically hidden.
In a way, though, you could say that I’ve come full circle from my very first posting introducing prefab tension.
Projects:
2024-07-23: "Bouncy Wooden Sphere": what you can do with a discarded bed2024-04-23: "Twisted Torque": tied into a permanent twist
2023-03-27: "Easy 30-Push Sphere": one simple element
2022-10-05: "Glass and LED": going big and colorful
2022-09-29: "Fascia": dancing with tensegrity
2022-08-30: "Mitosis": the four-three-two tensegrity
2022-08-04: "Push Bolts for the People": finalizing design and getting it out there
2022-06-22: "Head to Head Push Bolt": M5 and M6 bolts symbiosis
2022-05-30: "Hiding Knots": bump up the aesthetics
2022-05-25: "Innovation with 3D Printer": the push bolt
2021-12-02: "Headless Hug": breaking a rule for the sake of symmetry
2021-10-28: "Rebuilding the Halo": finally got it right
2021-10-20: "Convergence": growing and reconnecting
2021-07-27: "120-Strut Brass Bubble": taking the next step up in complexity
2021-05-26: "30-Strut Brass Bubble": bouncing spherical tensegrity
2021-04-08: "Bow Tie Tensegrity": better bend resistance
2021-03-29: "Six Twist Essential": what if more hands could see?!
2021-01-25: "Minimal Tensegrity": no more tension lines than absolutely necessary
2021-01-18: "Degrees of Freedom": first adjustable hybrid tensegrity
2021-01-11: "Fractal Experiment": a tensegrity of tensegrities
2020-12-09: "Axial Tension": pretensing what is already pretenst
2020-11-02: "Halo by Crane - Part 2": the strengthening
2020-10-26: "Halo by Crane - Part 1": assembly complete but strength lacking
2020-10-12: "Brass and Tulips": a tight and strong tensegrity tower
2020-08-10: "Prefab Tension Tower": the tower of eight twists
2020-07-27: "Elastic Bubble": building with elastic ease
2020-07-13: "The Twist Sisters": left-handed and right-handed
2020-07-06: "Radial Tension": Pulling towards the middle
2020-06-22: "Diamond of Tension": Four pulls for every push
2020-06-15: "Prefab Tension": Separating compression from tension